Programming in Rooms.xyz (Part 3)
2023
.
04
.
23
/
Log
3
Author: Bruno Oliveira (@btco)
Welcome to Part 3 of this tutorial! In this part we’re going to cover:
- Virtual joystick input
- Character controls
Virtual Joystick Input
As the millennia went by, human beings have developed the capacity for several complex tasks that go beyond clicking. We are capable, for example, of pressing keys and buttons as well. How do we harness this incredible potential in our games and experiences?
In Rooms, there is the concept of a virtual joystick, which has these 6 buttons:

In particular, the buttons are called: up, down, left, right, a, b. The combination of up/down/left/right is called the DPAD.
On a desktop device: they correspond to keys on the keyboard, namely the arrow keys, and the keys A (or Space) and B (or Left Shift).
On a mobile device: the virtual keyboard appears on the screen and the user can press the keys. They can also drag their finger on the DPAD.
Using onButtonDown() and onButtonUp()
Let’s start with an empty room with a beagle at the center.
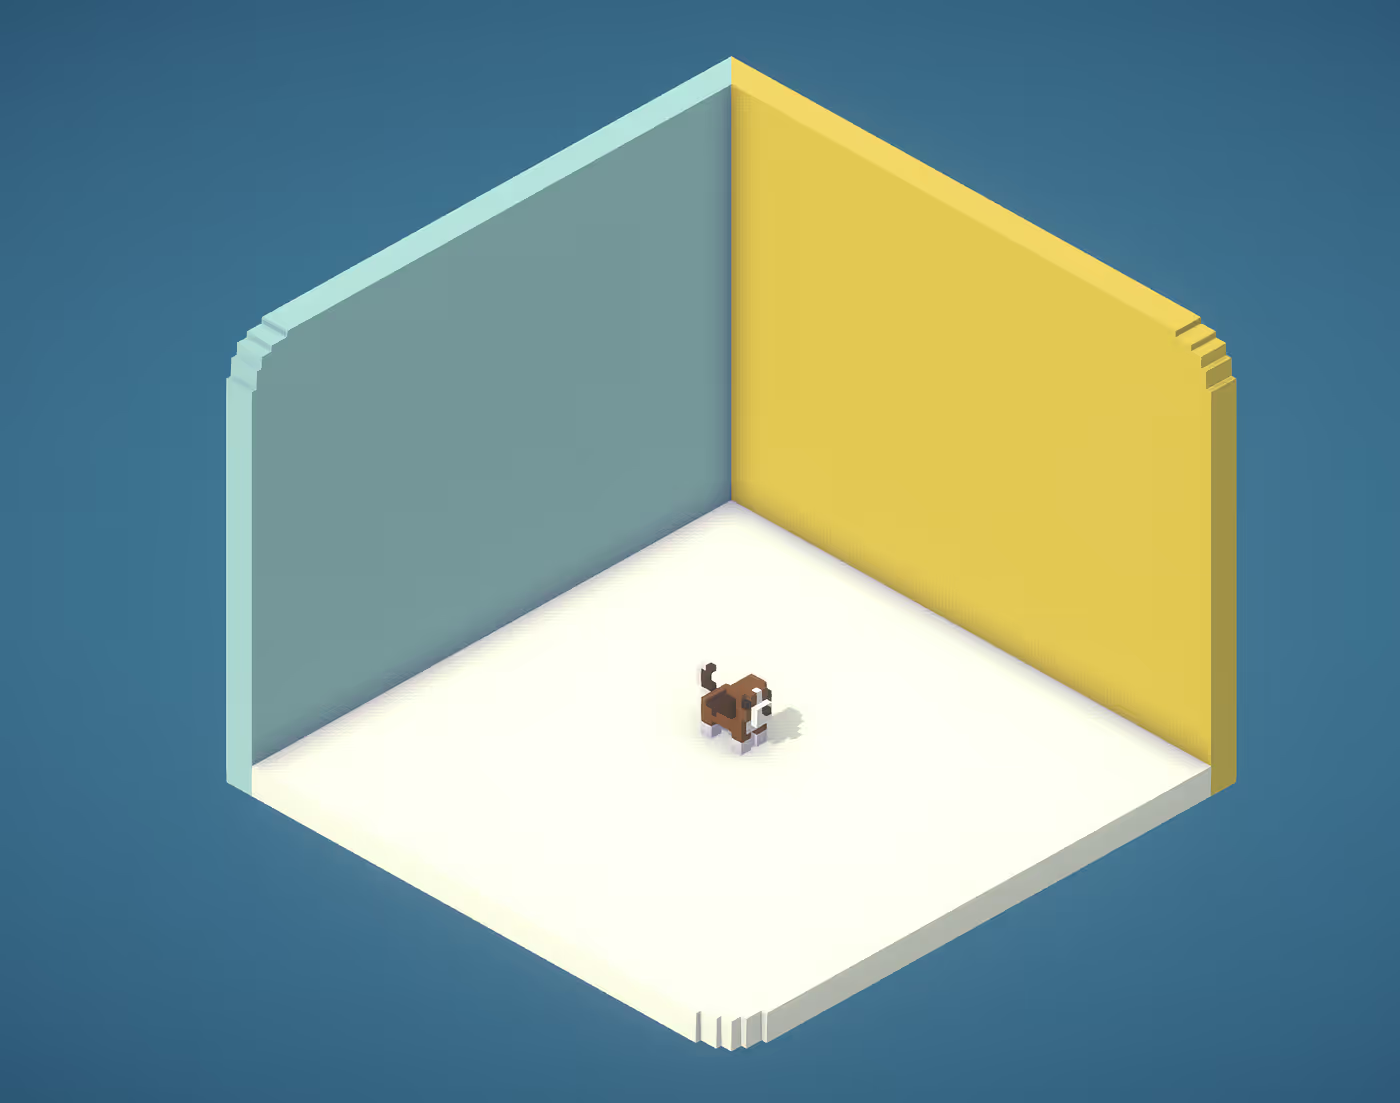
Ensure it’s physics type is set to Upright, as we’ll control it via its velocity:
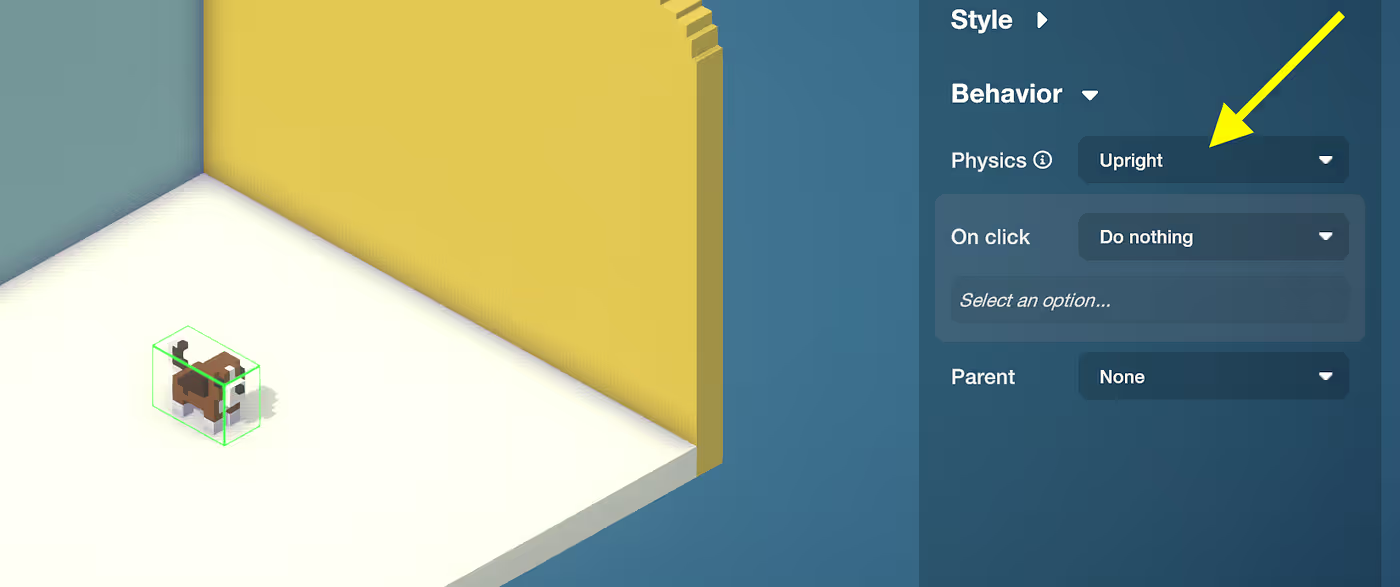
Setting this to Upright will allow him to be affected by physics velocities and forces, but will prevent him from rolling over in silly way like a potato knocked off the supermarket shelf (that would be Tumbly physics). So “Upright” is “physics, but with a bit of dignity”.
Now let’s write the code for the beagle:
SPEED = 50
JUMP_SPEED = 100

function onButtonDown(button)
  if button == "up" then
    setVelocity(0, 0, SPEED)
  elseif button == "down" then
    setVelocity(0, 0, -SPEED)
  elseif button == "left" then
    setVelocity(-SPEED, 0, 0)
  elseif button == "right" then
    setVelocity(SPEED, 0, -0)
  elseif button == "a" then
    setVelocity(0, JUMP_SPEED, 0)
  elseif button == "b" then
    say("bark")
  end
end
What’s happening here? When the user presses any button (DPAD or A/B), the onButtonDown() function gets called and the name of the button is passed as an argument, for example “up” or “a”.
Depending on the button pressed, we are setting our velocity to the corresponding direction. In the case of A, we’re setting it upwards to cause us to jump, for example.
To make it more fun you can put a table in the room and try to jump onto the table.

Check out the result here: https://rooms.xyz/btco/tutocontrols1
He’s moving weirdly, right? Well, that’s for two reasons: one is that we’re just giving him velocity when the key is pressed, but that velocity wears out because of friction, so you have to keep tapping to renew the velocity. The other is that the room is viewed at a 45° angle, which means when you press “up”, you might of expect the dog to move in the direction that you see as “forward”, which is towards the corner of the room, not towards the blue wall.
We can solve this and many other issues by using “natural X” and “natural Y” instead of discrete directions. We’ll see this next.
Full DPAD controls and onUpdate()
If you have the beagle you can continue with it; but I’ll delete it and use Tiny Bruno as my character instead for this one.
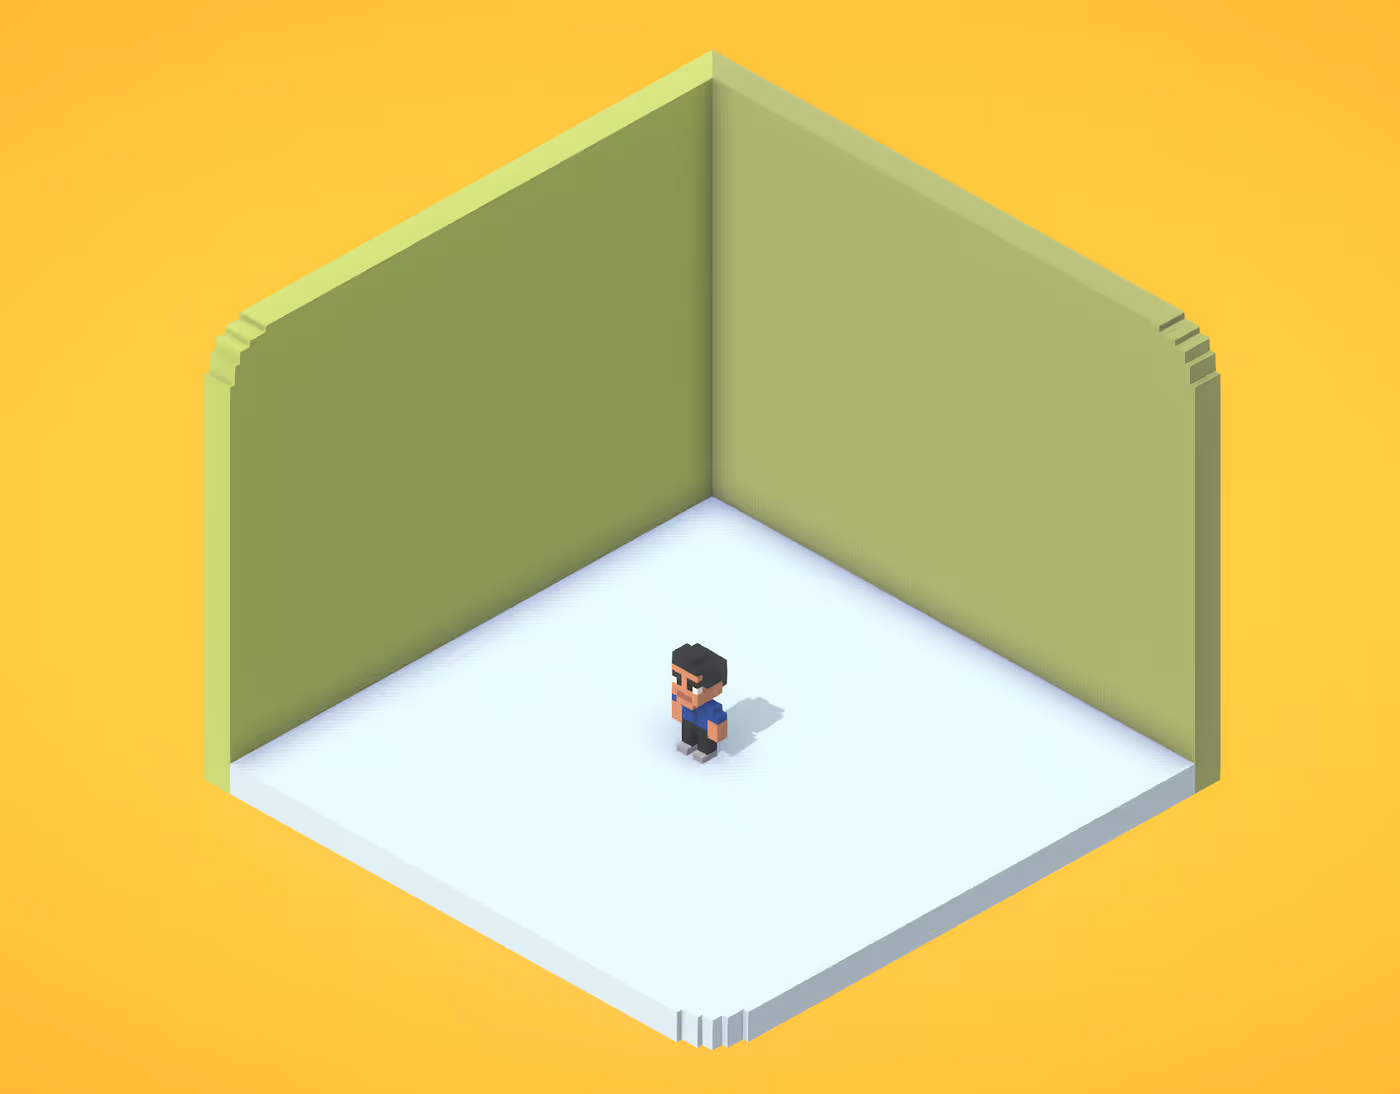
Ensure that Tiny Bruno’s physics type is set to Upright.
Now set his code to this:
-- This is called 60 times a second.
function onUpdate()
  setVelocity(input.natX * 50, 0, input.natZ * 50)
end
What is this doing? Well, onUpdate() is called by the engine 60 times a second to give the Thing a chance to update itself. It’s an expensive function that you shouldn’t define on many objects, but it’s fine for special ones like the main character.
Here, input.natX and input.natZ are the direction of the DPAD in the “natural” frame of reference, that is, where the user expects the directions to point taking into account the 45° viewing angle. So we’re setting the velocity based on these values, makig it so that Tiny Bruno’s velocity is dictated by the natural direction of the DPAD.
Give this a try and you’ll see that Tiny Bruno indeed moves in the direction you press in: https://rooms.xyz/btco/tutocontrols2
Facing the direction of motion
It’s strange because Tiny Bruno is always facing the same direction. We’d like him to face the direction he is moving. To do this, we can use another “magic” value called input.natYaw. This is the Y component of the rotation (also known as the “yaw”) that should be set to ensure it’s facing the right direction. So let’s update the code to:
-- This is called 60 times a second.
function onUpdate()
  setVelocity(input.natX * 50, 0, input.natZ * 50)
  setRotation(0, input.natYaw, 0)
end
Try it out: https://rooms.xyz/btco/tutocontrols3
Yes! Now Tiny Bruno is looking where he’s going, which is a great way to go about life in general.
Fall off ledges
Add a platform of some kind and put Tiny Bruno on top of it, and I’ll show you something weird: https://rooms.xyz/btco/tutocontrols4

Now try to walk off the platform in Preview mode.
You float. Why does it happen?
Look again at the code. We are calling setVelocity() and we are setting the X, Y and Z components of the velocity. What’s wrong with that? Well, we’re setting the Y component! This means that we are cancelling gravity. What gravity tries to do is to add to the Y component of velocity to make things fall; if we are constantly setting that to 0, we’ll defeat it and we’ll be very floaty.
How do we fix that? Simple: use nil for the Y component. This tells the engine not to touch that component, so update Tiny Bruno’s code to:
-- This is called 60 times a second.
function onUpdate()
  setVelocity(input.natX * 50, nil, input.natZ * 50)
  setRotation(0, input.natYaw, 0)
end
Notice the nil there as the second parameter of setVelocity(). That’s the Y component and nil means “don’t mess with it, let gravity do its work”.
Add Jump

For jumps what we want to say is “if the A button was just pressed, then add a velocity upwards”. We could do this will our good old friend onButtonDown() if we wanted to, but since we already have onUpdate() it’s best to handle it directly there:
-- This is called 60 times a second.
function onUpdate()
  local vy = nil
  if input.aJustPressed then
    vy = 100
  end
  setVelocity(input.natX * 50, vy, input.natZ * 50)
  setRotation(0, input.natYaw, 0)
end
So here we’re saying: if the A button was just pressed (input.aJustPressed), then we set the Y component of the velocity to 100. If not, we leave it as nil, meaning “let gravity do its work”. So if A is pressed, we jump; if not we fall.
One last snag here is that as it is, we are allowing the user to jump while in the air as well, because we don’t check that we’re on the ground or on a solid surface. I’ll leave that as an exercise to you. Hint: use onCollision() to see when you hit the ground.
Check out the result: https://dev.rooms.xyz/btco/tutocontrols5
Controlling Animation
Things can have voxel animation, that is, they can have more than one "frame" in their voxel model.
For example, look at this one → https://dev.rooms.xyz/btco/tutoanim
Click the Cat and edit its model. You'll see that it has 2 animation frames that alternate, making it look like the cat is walking.

In the Model Editor, you can edit the individual animation frames by clicking on the frame buttons at the bottom of the screen.
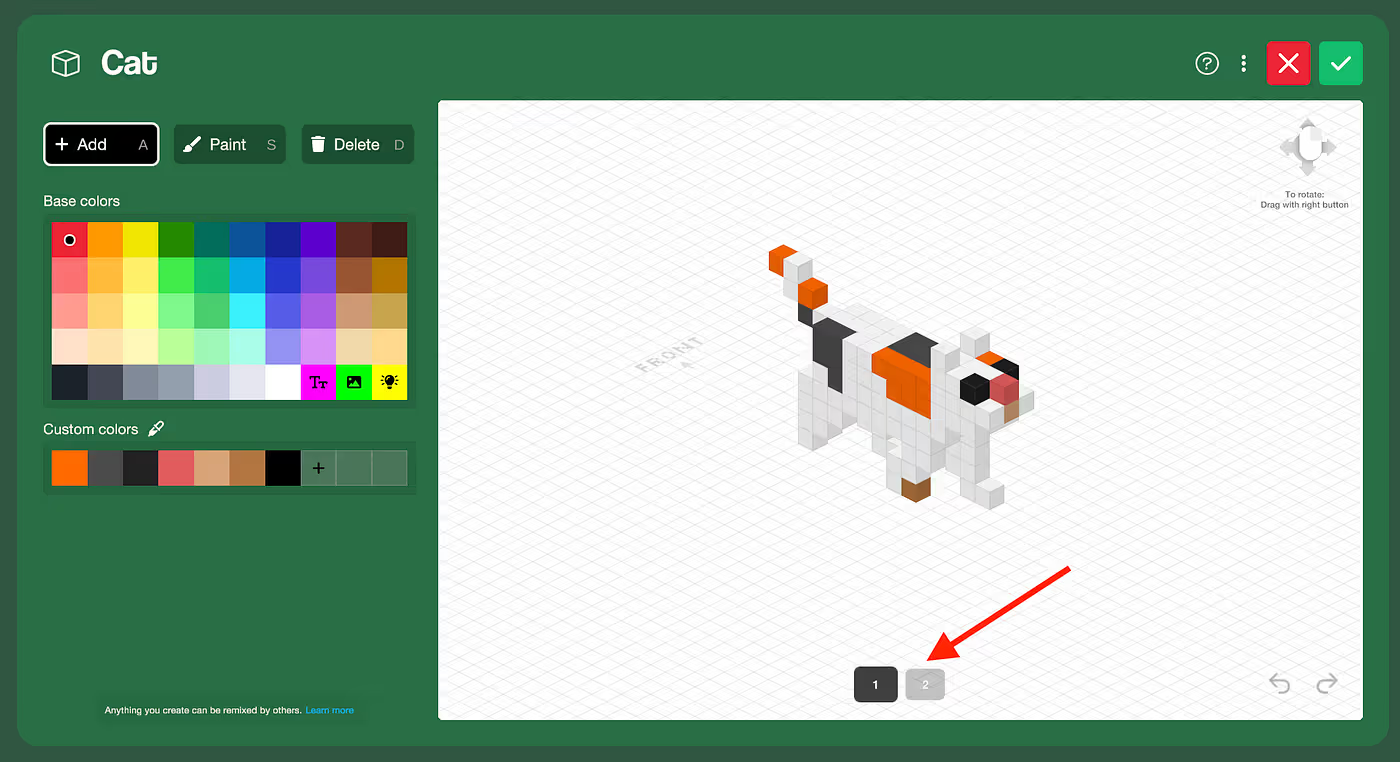
I'm going to add a 3rd frame to represent the cat in a sitting position:
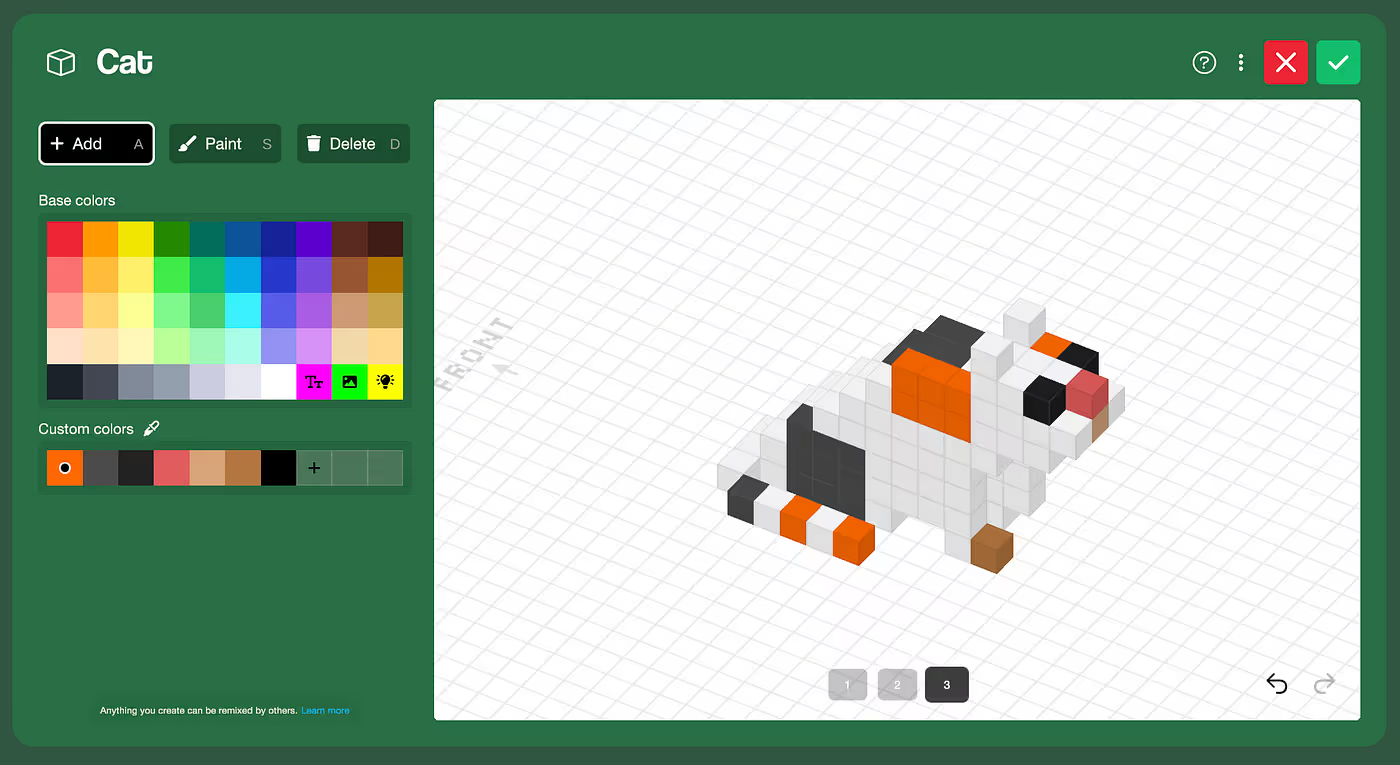
But now the animation looks weird, because it looks like the cat takes 2 steps then sits then takes 2 steps then sits. That's OK. That's because by default all the animation frames play. But now we're about to delve into coding to make it so that only the frames we want will show.
Here's the code for the cat:
function onStart()
  -- Start in the sitting position.
  sitDown()
end

function onClick()
  -- When clicked, togglet between walking and sitting
  if isWalking then
    sitDown()
  else
    startWalking()
  end
end

function startWalking()
  -- Start moving
  startMoveBy(0, 0, -100, 20)
  -- Set animation to loop frames 1 through 2
  setAnimation("loop", 5, 1, 2)
  isWalking = true
end

function sitDown()
  -- Stop moving.
  stopMove()
  -- Set animation to only show frame #3 (sitting).
  setFrame(3)
  isWalking = false
end
Now you can click the cat to make it move and do the walk animation, and click again to make it stop and sit down:

Try it out here → https://dev.rooms.xyz/btco/tutoanim2
The End
You've reached the end of this article series. Thanks for reading it through! Remember that you can dive deeper into the API by reading the API documentation, which has all sorts of interesting functions (and boring ones, too) that you can call.


